
Tile samples: how to make your final choice?
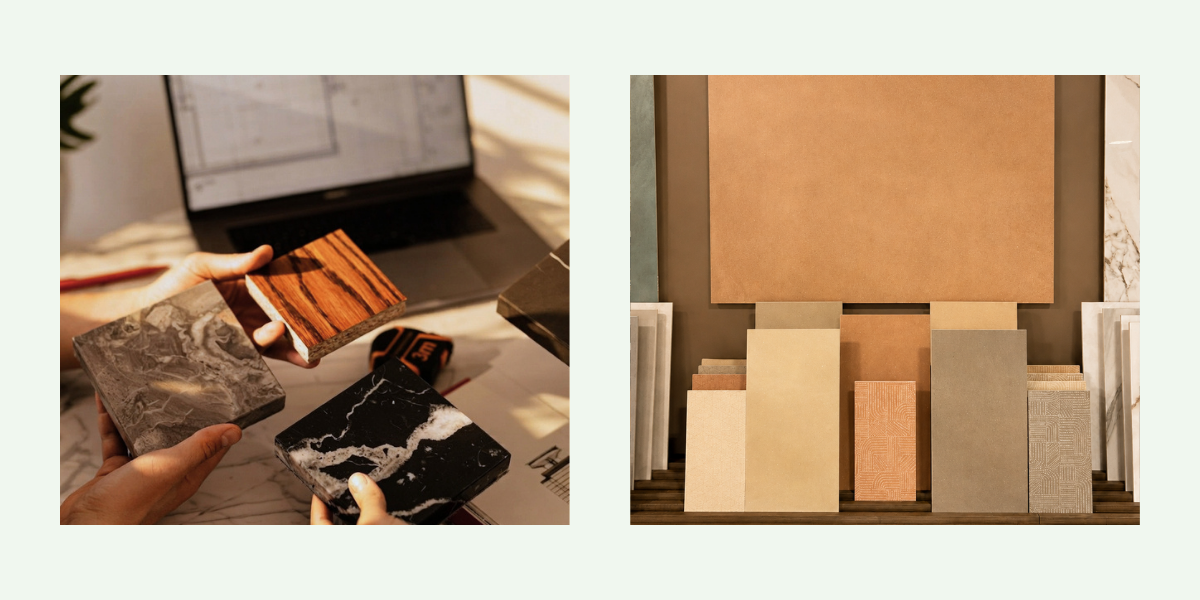
You brought several tile samples home and you’re still undecided? The first appeals to you for its soft tone, another adds character, and the last one feels warmer in the evening light.
When several tile samples appeal to you equally, don’t rely solely on your first impression. The room’s lighting, the materials already in place, the finish and even your lifestyle can quickly tip the balance.
1. Make sure the tile samples are suitable for your project
Before comparing their appearance, make sure the tiles are suitable for where they will be installed.
Check the following:
- whether the tile is suitable for walls, floors or both;
- the level of slip resistance;
- the finish;
- the format;
- availability within your desired timeframe.
If one of the options does not meet an important requirement, your choice already becomes easier.
Still at the beginning of your decision-making process? Read our guide on Choosing your Ceramic Tiles in 7 Steps.
2. Look at your tile samples in your actual lighting
Place your samples in the room where the tile will be installed.
Look at them:
- in the morning and at the end of the day;
- under natural light;
- with your lights turned on;
- near a window and in a darker area.
A tile can look very different depending on the lighting. A beige may appear greyer in the morning. A white may look warmer in the evening. Some undertones only become visible under artificial light.
Key takeaway: Ideally, keep your tile samples in the room for at least 24 hours. Don’t choose only the one that looks best in its most flattering light: go with the one you still like
3. Compare the colour with the other materials
Tile is never seen in isolation within a space. Compare your tile samples with the other elements that will be present in the room:
- cabinets or vanity;
- countertop;
- paint;
- adjacent flooring;
- wood;
- faucets and hardware.
This is often when the differences become obvious. Two whites may look almost identical on their own. Placed next to a countertop, one may suddenly appear creamier while the other looks greyer.
Also ask yourself what kind of effect you want to create.
Do you want the tile to blend into the space? Or would you rather have it stand out?
Expert tip: The best option is not always the most beautiful sample. It is often the one that creates the most cohesive look with your cabinets, countertop and paint.
4. Imagine the tile across the entire surface
A small sample does not always show the final result.
Some collections are very uniform. Others feature more colour variation, veining or texture. You should also look at the number of different faces in the collection. A face refers to a variation in the pattern or graphic printed on the tile.
The higher the number of faces, the less frequent the pattern repetition upon installation, resulting in a more natural, lifelike appearance.
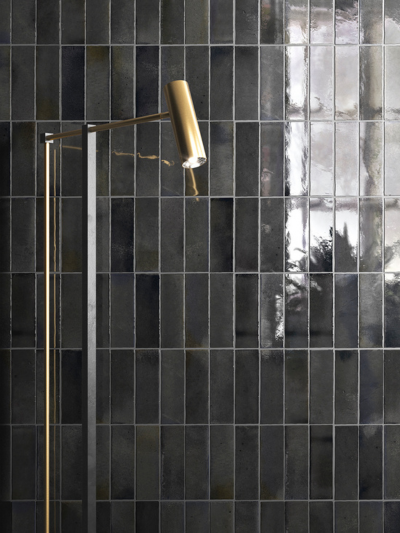
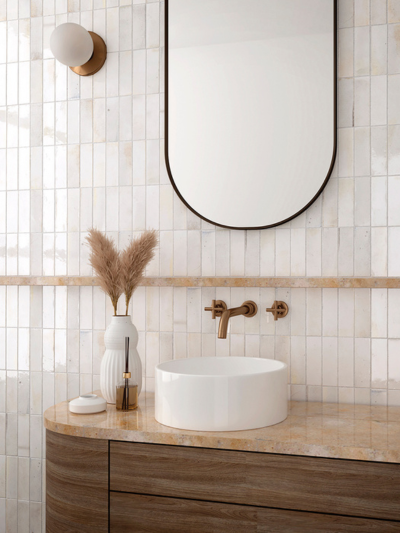
By contrast, fewer faces often lead to a more repetitive look, particularly over large surfaces.
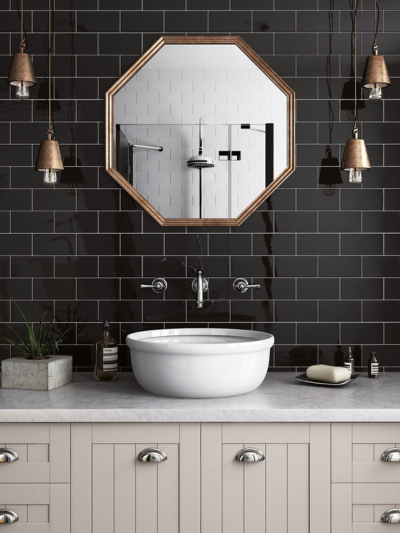
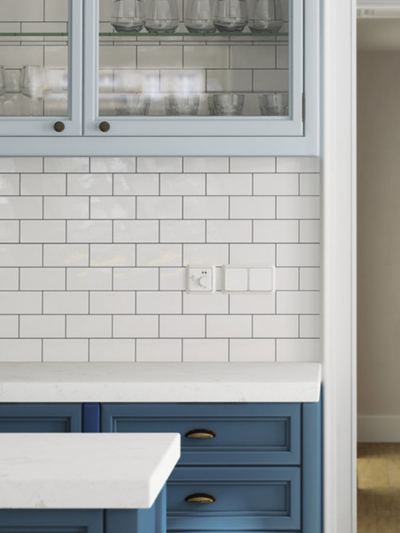
An expressive tile can look stunning on an accent wall, but on a large floor, its visual impact will be much stronger.
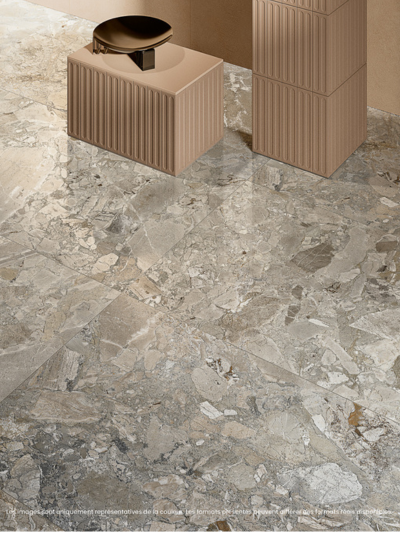
Conversely, a tile that looks quite understated on its own can feel remarkably rich once multiplied across a large surface.
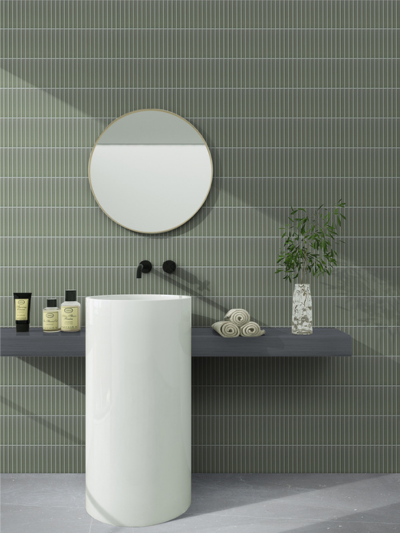
To better visualize the final result:
- look at several tiles from the collection;
- observe the in-store displays;
- look at photos of completed projects;
- consider the actual size of your project.
Don’t choose just a beautiful tile. Imagine the entire surface.
Good to know: The more unique faces a collection offers, the less the pattern repeats after installation. The result generally feels more natural, fluid, and dynamic across a large space.
5. Compare the finish and everyday maintenance
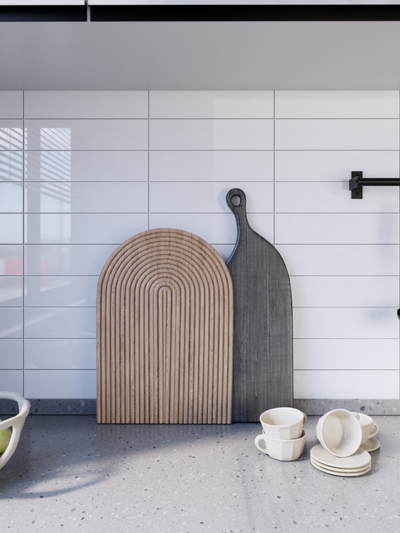
A glossy surface reflects more light and creates a brighter effect. A matte finish generally creates a softer look. A more pronounced texture can add depth and character.
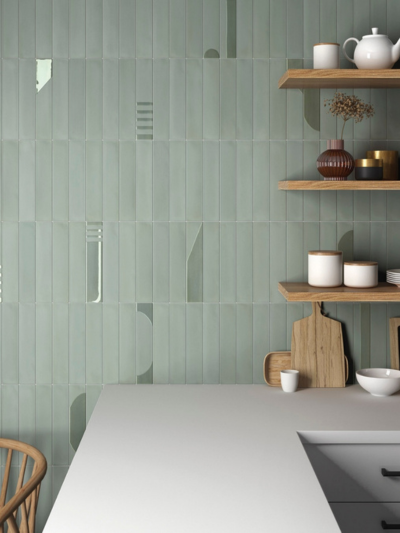
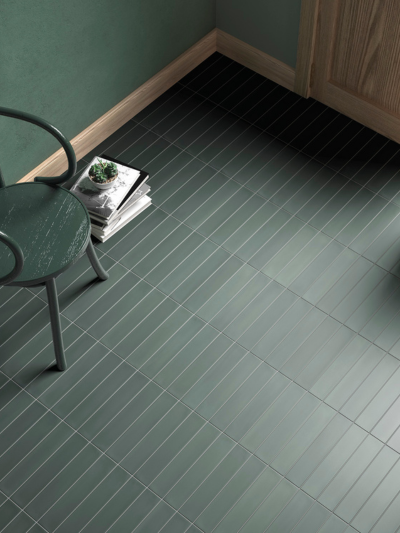
But also consider your everyday life.
Will the surface often be exposed to water? Will there be a lot of foot traffic? Are marks likely to be visible?
Your tile should appeal to you, but it should also suit your lifestyle.
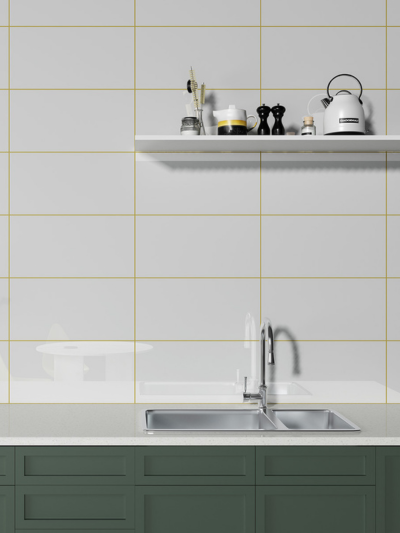
A tone-on-tone grout generally creates a more uniform surface. A contrasting grout makes the joints and shape of the tiles stand out more.
6. Compare the total project cost, not just the price per square foot
Tiles can have similar prices and still lead to different overall budgets.
Before making your final choice, also consider:
- the quantity required;
- waste and cuts;
- installation materials;
- grout;
- delivery;
- the complexity of the installation.
Keep the overall budget in mind: A tile that is slightly less expensive to purchase may ultimately cost more if its format requires a more complex installation, more cuts or results in more waste.
If your timeline is tight, this detail alone may be enough to tip the balance.
Also check the availability of the quantity you need.
Made your choice? Take the next step
Have you compared your tile samples and found the option that works best for your space?
Before placing your order, remember to confirm the quantity required, product availability, grout colour and the final installation details.
Still deciding between your options? Bring your samples to one of our stores, along with photos of the room and, if possible, a few elements from your project: a paint sample, cabinet door, piece of countertop or another material.
Our advisors can help you compare your options and visualize the overall result.
FAQ – Your questions about tile samples
How long should you observe a tile sample?
Tile samples: how to make your final choice?
Ideally, keep your tile samples in the room for at least 24 hours. This will allow you to see how their colour changes under different lighting conditions.
Why does a tile look different at home?
Tile samples: how to make your final choice?
Lighting, wall colours and surrounding materials can affect how its tones and undertones are perceived.
How do you choose between several tile colours?
Tile samples: how to make your final choice?
Compare your tile samples directly with the other materials in the room. Also look at them at different times of day.
Should you choose the grout at the same time as the tile?
Tile samples: how to make your final choice?
It is best to think about it before placing your order. The grout colour can make the surface look more uniform or, on the contrary, make each tile stand out more.