Our Best Tips Before Renovating Your Bathroom
If there’s a room in the house that you can call essential, it is indeed the bathroom. So, to help you complete your bathroom remodeling project quickly and smoothly, we thought we would share our best advice before you get started.
1- Easy Maintenance
In a bathroom, cleaning can quickly become a tedious and time-consuming chore. But there are a few tips that can help minimize the required maintenance:
- The smaller the tiles are, the more joints there are, and so the harder it is to clean.
- Textured tiles are not as easy to clean.
- Avoid natural stones, especially limestone like marble and travertine. Opt for beautiful imitations instead.
- Be careful with metal tiles! They can oxide, thus are not recommended in a bathroom.
- Use the right cleaning product. We recommend using the MAPEI Ultracaremc ready-to-use spray cleaner. For more information, read our article on maintaining ceramic tiles and joints.
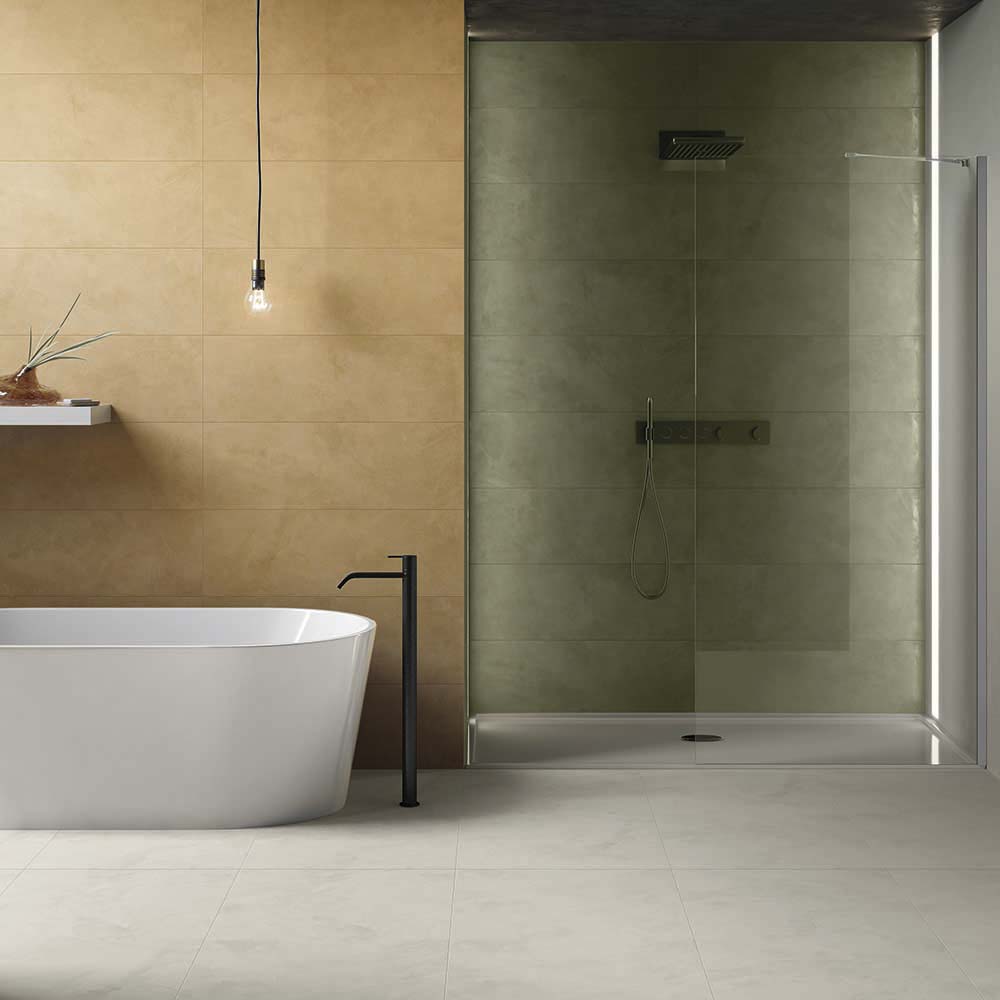
2- No Slippery Floors
The bathroom is not considered a high-traffic room. So, most ceramic tiles can be used, as long as they are floor tiles (some ceramic collections are for wall installation only). However, it is important to note that a glossy or polished tile will get slippery, thus should be avoided on the floor if you have mobility challenges.
However, installing a heated floor can make a huge difference. A flooring heating system not only accelerates your floor drying time, but it also provides a nice heat distribution and frees a lot of space (👋 say goodbye to furnaces!). Plus, it is safe for kids, and it adds to the value of your property.
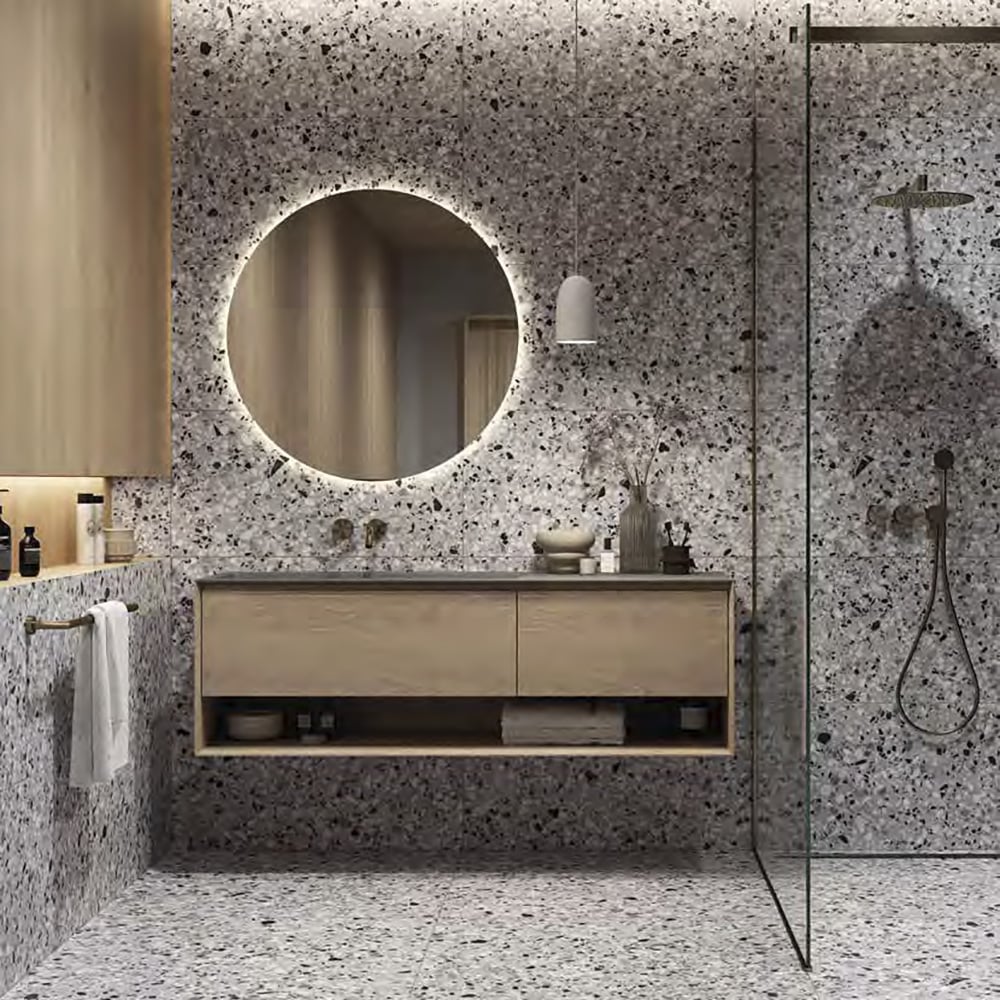
3- Waterproof Shower Walls

Rule of thumb! Ceramic is a decorative product that makes your bathroom and shower maintenance easier. In other words, even before you install your tiles and grout, make sure that your shower walls or bath rims are 100% sealed and impervious. You are never too careful when it comes to water infiltration.
Protect your Shower Walls
To perfectly waterproof your shower walls, we recommend installing the Schlüter Kerdi membrane or the MAPEI waterproofing membrane, in order to protect the substrate underneath. Important! There are substrates made of both waterproof and rotproof materials. That is what you should use!
Install the Shower Niche Correctly


There are 2 types of shower niches:
- Ready-to-tile niches. They are made of a waterproof and rotproof material (which means they will resist high humidity levels). And all you need to do is screw the niche into the wall uprights, then install a waterproofing membrane, and finally tile the niche and grout.
- Stainless steel niches. Completely ready to use, these niches are both trendy and easy to install.
3 tips for your shower niche:
- Always have a slight slope for drainage so the water doesn’t become stagnant in the niche.
- Make sure the joints are completely waterproof.
- And again: stay vigilant for water penetration!
4- Proper Grout
Grout is just like tiles: its main purpose is to decorate and make maintenance easier. We always recommend following your tile provider’s guidelines for application. Here are also a few essential points you need to know about grout.
Grout Colour
- We don’t recommend going for a pure white grout because it will get dirtier a lot faster. Opt for a light grey or an off-white grout instead.
- Avoid using an all-black grout, because it tends to stain more easily, unless you use an epoxy or premixed grout (discover the various types of grout below👇).
- You can find every grout type in all colour hues.
Voir cette publication sur Instagram
Voir cette publication sur Instagram
Joint Width
We normally recommend 1/16″-wide joints with small size rectified wall tiles. For large non-rectified tiles, it is better to go with 1/8″-wide joints. And make sure to use a grout that is suited for your joint width. Remember: the wider your joint is, the more difficult it is to clean. So don’t hesitate to ask questions to our advisors in store to make the right choice.
Grout Type
When installing ceramic tiles on a wall, we normally use sand-free grout. Choosing the right grout will depend on: where it is used, what type of tiles it is used with, how wide your joints are and the desired ease of maintenance. The main types of grout available are:
- Basic cement grout. Basic grout does the work for a decent price. However, the colour might lighten if you use too much water when cleaning after application (this is called efflorescence). Other types of grout are easier to clean.
- Cement grout + Sealer. This is an interesting solution for a shower or an existing bathroom. The sealer can be applied on the joints—not the tiles—with a paintbrush. This technique makes it easier to clean than a basic cement grout.
- Cement grout + Acrylic additive. In this case, an additive is mixed with the cement instead of water, which provides better stain and dirt resistance.
- Premixed grout. There are many advantages to premixed grout: easy grouting, fewer tools to use and clean, reusable product, and constant colour. However, it does tend to stick more to the tiles than cement grout, so it requires more vigilance during application and cleaning. Make sure to use sponges designed for this kind of grout.
- Epoxy grout. That’s the ultimate choice! It contains two components to mix before use, ensures constant colours, and is the only product considered antimicrobial. However, the epoxy grout can take longer to apply since it requires cleaning the tiles during the process (instead of after), or it might leave a sticky film on the tiles. Never use epoxy grout on outdoor installation—it can soften due to sun exposure—nor with marble.
💡 Good to Know!
If you don’t like the colour of your existing grout, you can change it. You can recolour existing grout using a special colourant (plus it adds a protective layer). All you need to do is apply it using a paintbrush and clean the excess.
After grouting, the colour can lighten for two reasons:
- You added too much water when mixing your cement grout, which causes the joints to lighten. Always follow the manufacturer’s indications.
- You used too much water when cleaning. A phenomenon called efflorescence will happen and create a white deposit on joints—this is when chemical salts transform into powder when exposed to air.
To learn more, read our blog article on how to choose the right grout.
5- Proper Shower Drain
If you want to tile your shower floor, you have two options for the drain system: a centre drain or a linear drain. Your final choice will depend on your shower base.


If you want to tile your shower floor, you have two options for the drain system: a centre drain or a linear drain. Your final choice will depend on your shower base.
- The centre drain is typically located in the middle of the shower floor, that is in the center of the slope. It is recommended to use 4×4″ tiles or smaller to perfectly contour the shape of the drain. Whatever the drain type, we do not recommend using natural stones or textured tiles for the shower floor.
- The linear drain is located along one side of the shower floor at the end of a single slope. It can be centred or on the sides (right or left). And for this type of drain, you can use large ceramic tiles, which makes cleaning easier and the room look wider, aa well as creates a continuous effect with the rest of the bathroom floor.
💡 Good to Know!
To help you estimate the right quantities of products you need for your project:
- MAPEI, a Quebec brand, has a grout calculator.
- Schluter offers various estimating tools for membranes, panels, and even heated floors.
You’re ready to get started! Every project is unique. But you now know what to take into consideration. Don’t hesitate to ask your questions to our experts. They will be happy to help you and assist you in your project.
Related articles: